Home / User Guide / How To Use Photos Exif Editor / Edit Metadata (EXIF/IPTC/XMP)
Edit Metadata (EXIF/IPTC/XMP)
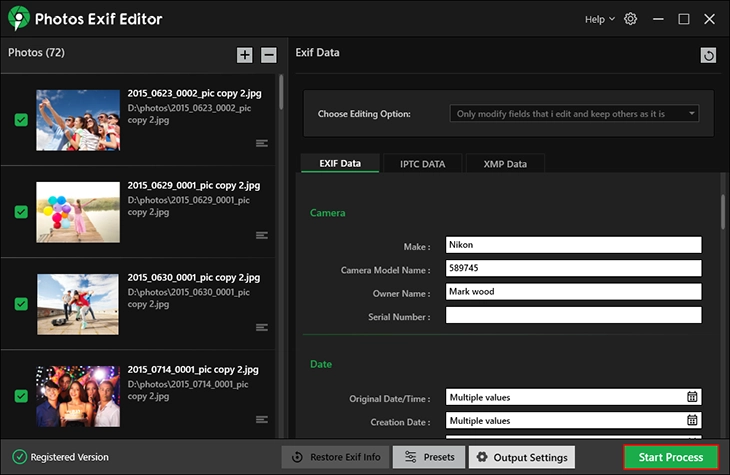
Once you have added the images to edit you can see Thumbnail and storage location of each image next to them.
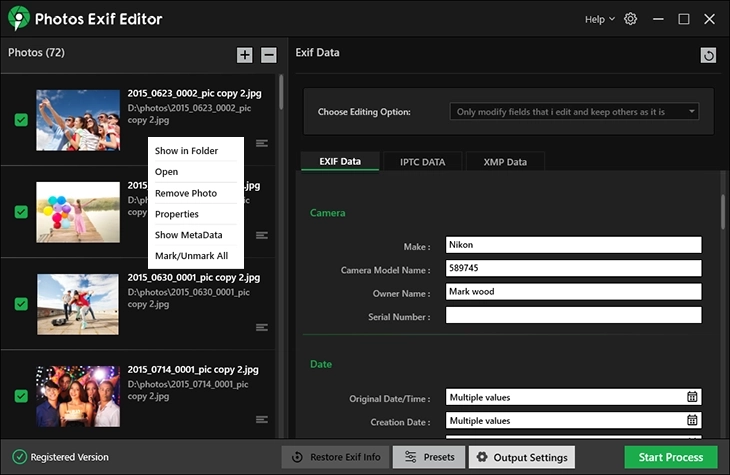
By default all the images are selected. If you want to edit specific photos, uncheck those you don’t want to make changes to. Also, you can use the options available in the context menu. Right click the three stacked lines in the Thumbnail section and can select from the available options to -
- Show in Folder
- Open
- Remove Photo
- Properties
- Show MetaData
- Mark/Unmark All
Once that is done, you can start editing metadata. To do so, follow these steps:
1. On the right side you see three tabs - EXIF Data, IPTC Data, and XMP Data.
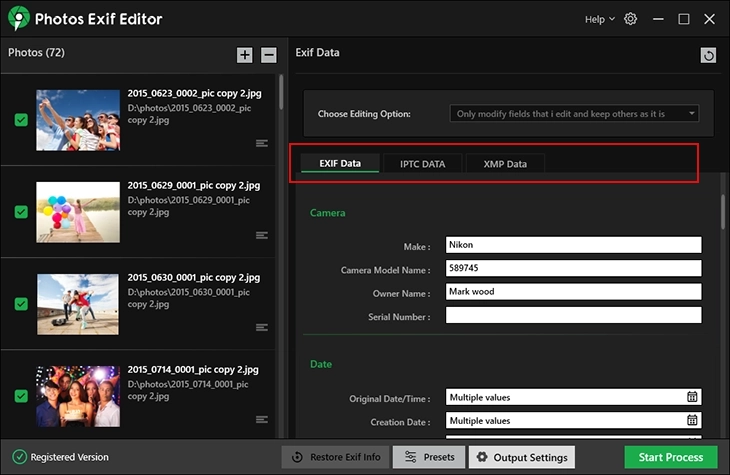
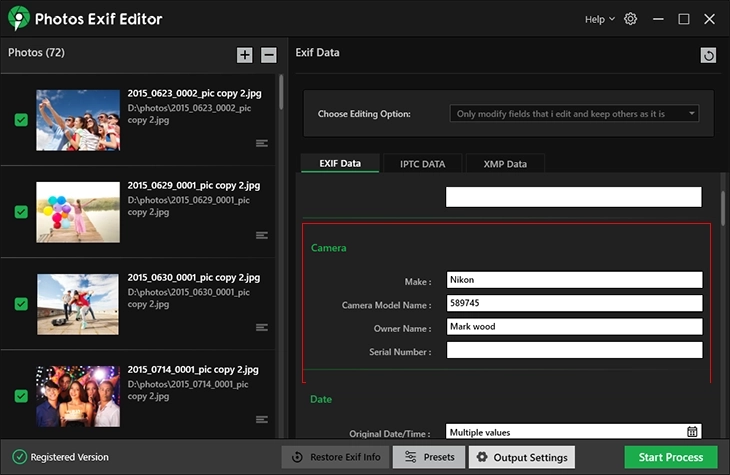
2. Click on each tab and update fields like Camera Info, Timestamp, GPS data, etc for which you want to modify data.
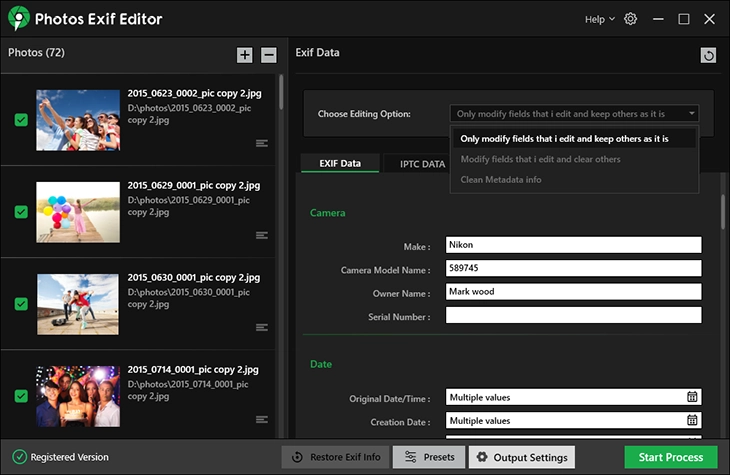
Additionally, you can also choose from the Editing Options -
- Only modify fields that i edit and keep others as it is - Use this option when you want to keep the old and new information.
- Modify fields that i edit and clear others - Use it when you want to hide metadata or want others to see the edited information.
- Clean Metadata Info - This option can be used when you are sharing or uploading images and don't want any metadata information to be accessed.
3. Once done, apply changes by clicking the Start Process button.
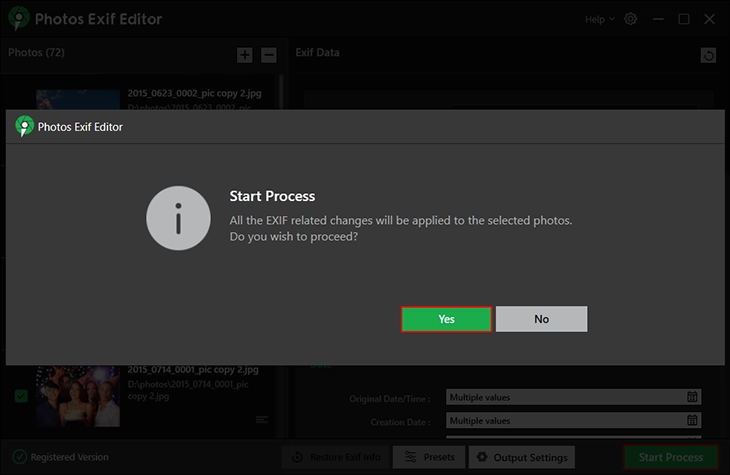
4. You will then get a prompt informing "All the EXIF related changes will be applied to the selected photos." Do you wish to proceed?” Click Yes to proceed.
5. You will now see the progress bar. Wait for the process to finish.
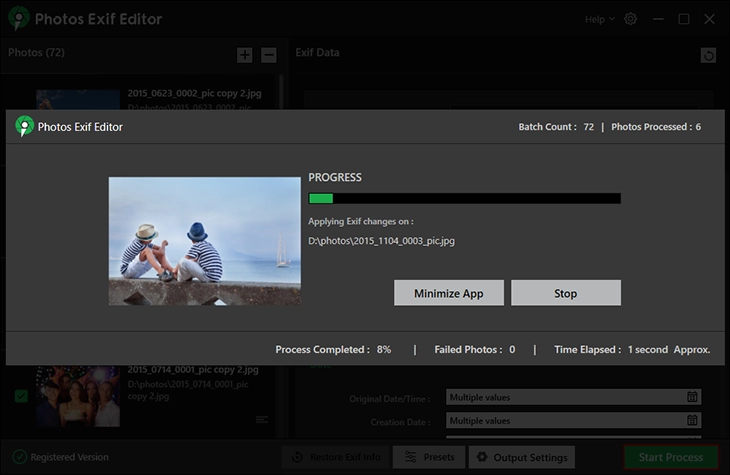
6. Once done you will get the message informing -
- Batch Count
- Photos Processed
- Photos Failed
- Time Elapsed
- Photos Skipped
- Output directory

7. To view the edited images, click the link next to Output directory. This will open the folder where the modified images are saved. To exit the dialog box, click Close.