Home / User Guide / User Interface
User Interface
Quick Tour
As soon as Photos Exif Editor launches, you will be greeted with a welcome screen. From here you can either take a 'Quick Tour' of the tool, which provides a brief overview of its various features or can click Skip Tour to start using the application.
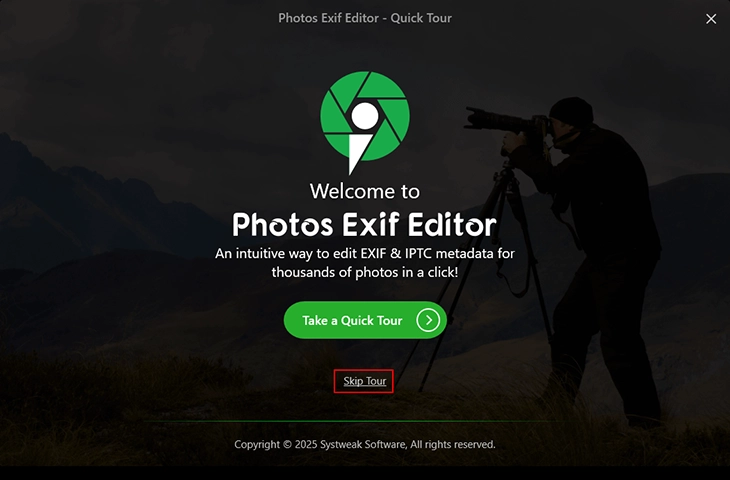
If you are using Photos Exif Editor for the first time we recommend taking the tour.
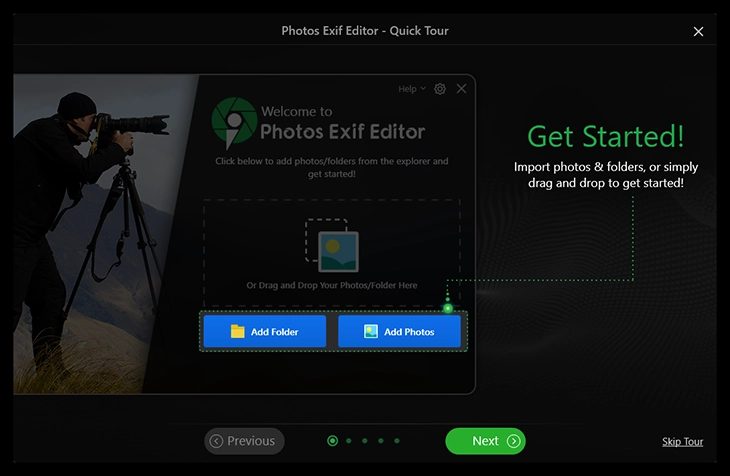
Get Started - This explains how you can add photos or folders for editing.
Manage View - Add or remove photos for batch editing or uncheck them if you don’t want to perform any action.
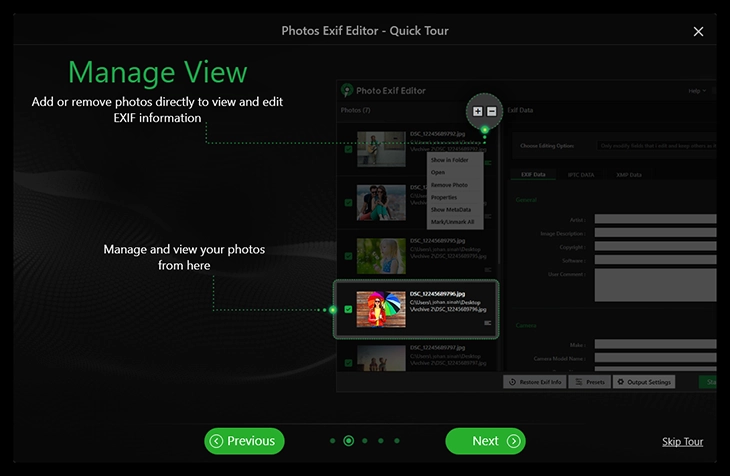
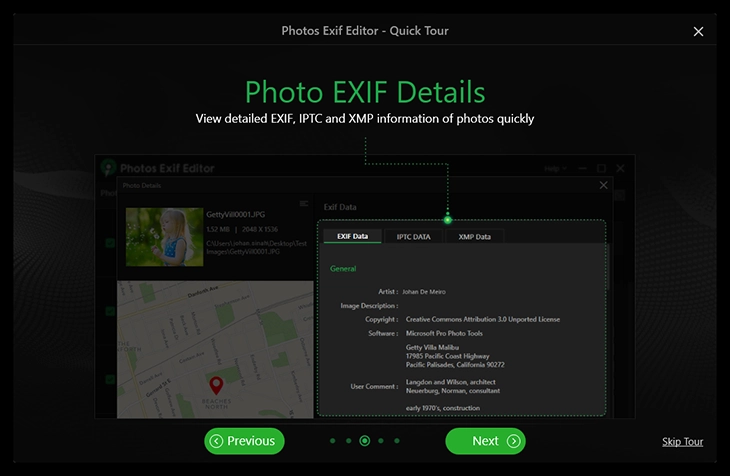
Photo Exif Details - See and modify metadata fields - EXIF, IPTC and XMP easily.
Add Presets - Save and reuse common metadata entries to save time.

Start Process - Modify output setting according to your preference and apply changes to selected images in a go.
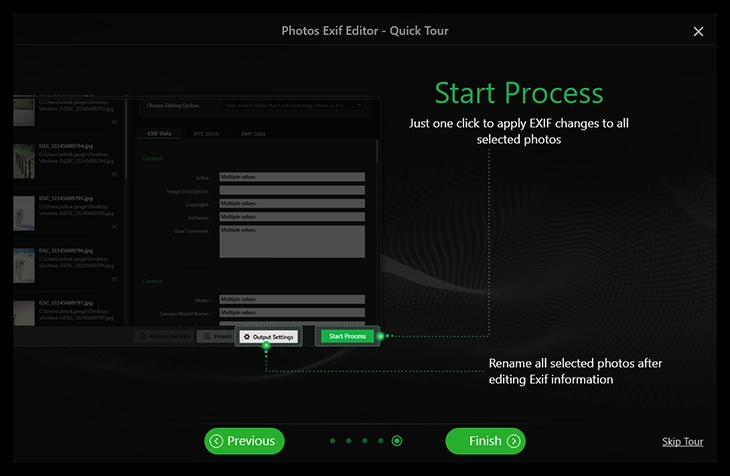
Once you’ve taken account of all the features Photos Exif Editor has to offer through this Quick Tour, click on Finish to exit the tutorial.
Welcome Screen
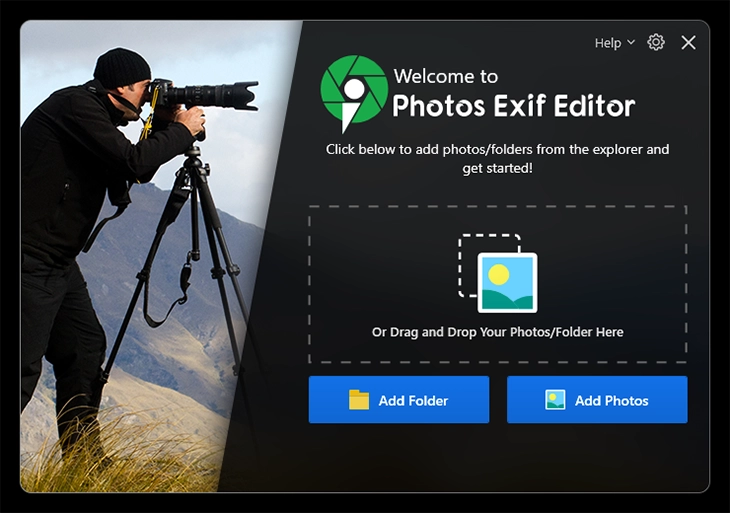
Launching Photos Exif Editor for Windows will take you to the welcome screen. Here you can add individual photos or entire folders to edit metadata and Exif information. You can either simply drag and drop the desired images or folder or click ‘Add Folder’ to browse to a specific folder, or 'Add Photos' if you wish to add individual photographs.
- Add Folder - Allows you to import an entire folder of images at once.
- Add Photos - Allows selecting individual photos manually.
- Drag and Drop Area - Lets you drag files or folders so that you can add them quickly.
- Help Menu (Top Right) - Access Help, Registration, Updates, Logs, and About.
- Settings Icon (Gear) - Open app settings to control app behavior.
Help Menu
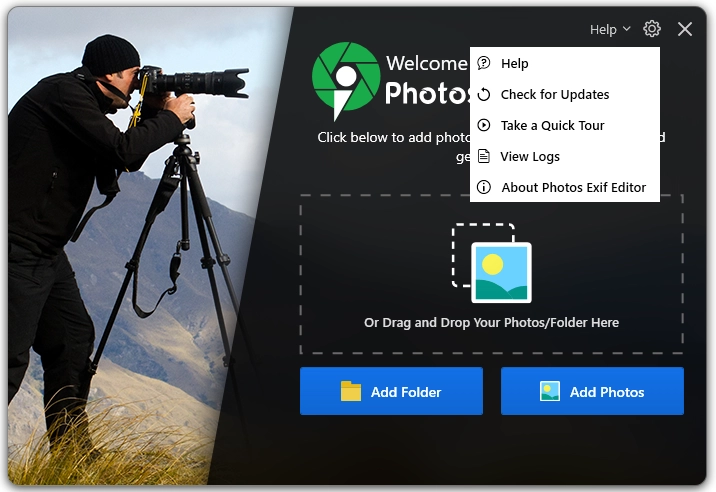
Clicking 'Help' on the top right corner of Photos Exif Editor window will open a drop down menu with various options.
Help -The first option 'Help' will take you to Photos Exif Editor FAQs section, where you can find answers to most common questions about the tool and how it functions.
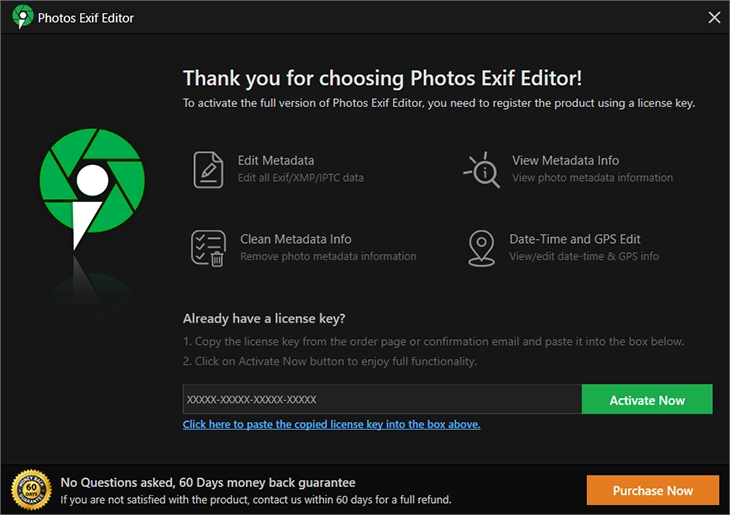
Enter Registration Key - Click this option > enter the registration key > activate the product and start using the registered version without any restrictions.
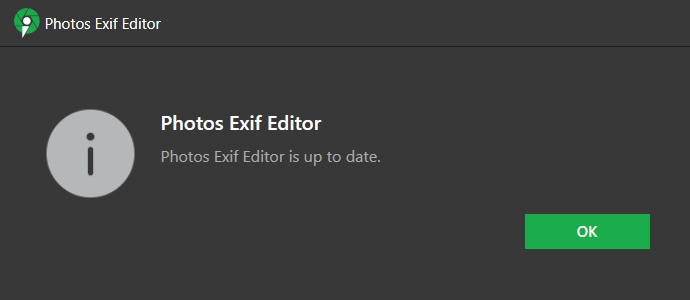
Check for Updates - Clicking this option check for latest application updates. If any are available they will be downloaded and installed. However, if the tool is already up to date then it will notify you.
Take a Quick Tour - Clicking this option will take you to a brief tutorial on how to use Photos Exif Editor.
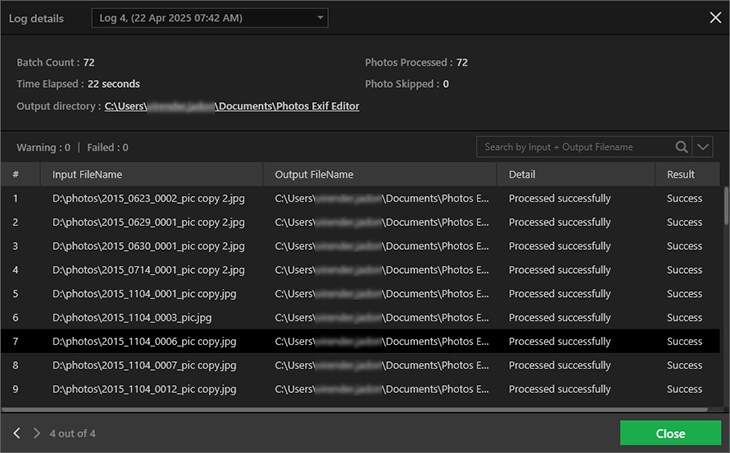
View Logs - This option displays informational logs about action you have performed.
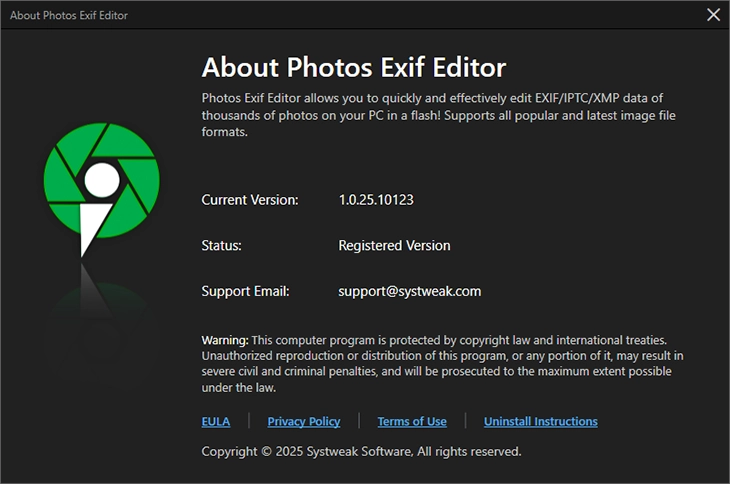
About Photos Exif Editor - Click this option to view additional information about your copy of Photos Exif Editor such as Version number, whether your tool is a registered version or not and support email ID. From here, you can also access End User License Agreement, Privacy Policy, Terms of Use and Uninstall Instructions.
Settings
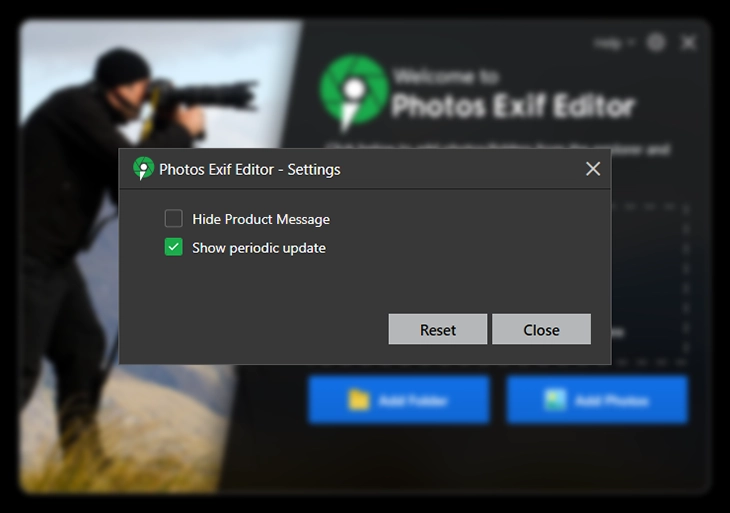
Clicking the gear icon opens the Settings screen of Photos Exif Editor. From here you can choose whether or not to -
- Hide Product Message
- Show periodic update
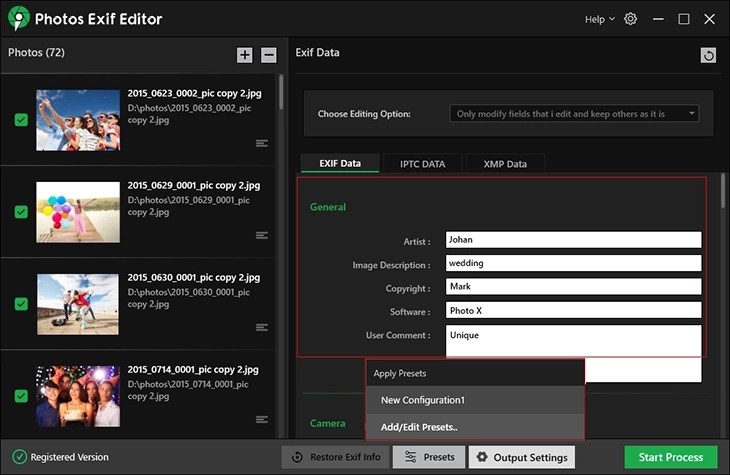
Metadata Editing Panel
You will find it on the right side of the interface. It is divided into three tabs:
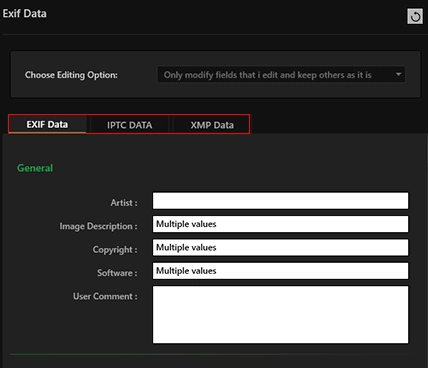
EXIF Data - To edit basic photo information like Artist, Copyright, Date/Time, Camera Make, Model.
IPTC Data - To edit professional media fields like Headline, Source, Special Instructions.
XMP Data - To edit advanced fields like Creator Tool, Ratings, Rights Management fields.
To edit the metadata fields just click in the box and start typing.
Metadata Editing Options
Above the metadata tabs, you get three editing options. You can use them to decide how you want your data to be saved.
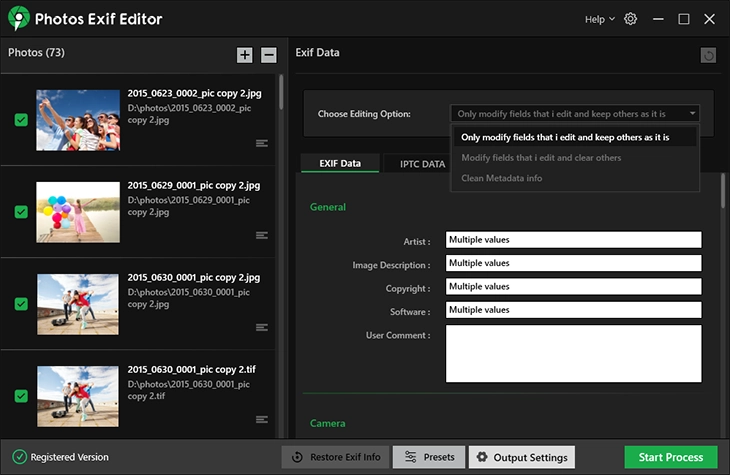
- Only Modify Fields That I Edit and Keep Others As It Is - Keep the untouched fields as they are. (Recommended by default)
- Modify Fields That I Edit and Clear Others - Clears all other metadata fields except edited ones.
- Clean Metadata Info - Wipe all metadata and personal info. (Useful to hide data before you post or share an image online.)
Preset
Preset option to reuse metadata templates:
Presets Button (bottom center) > Add Presets .. Opens the window where you can create and save presets.
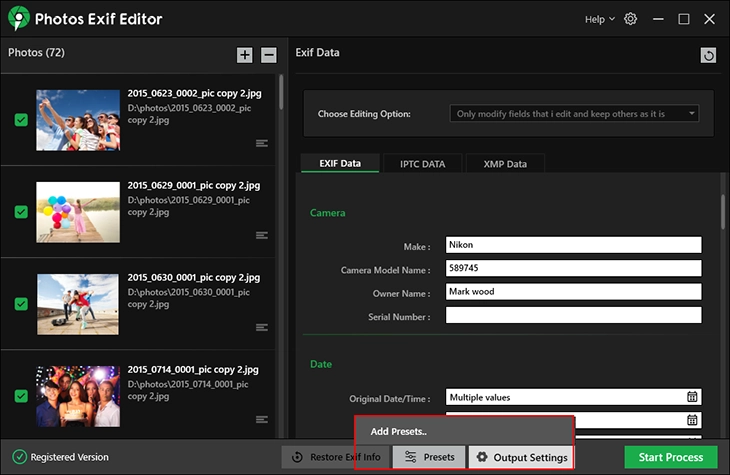
New Preset (+ button) - Create a new preset template by entering the details under EXIF, IPTC and XMP fields.
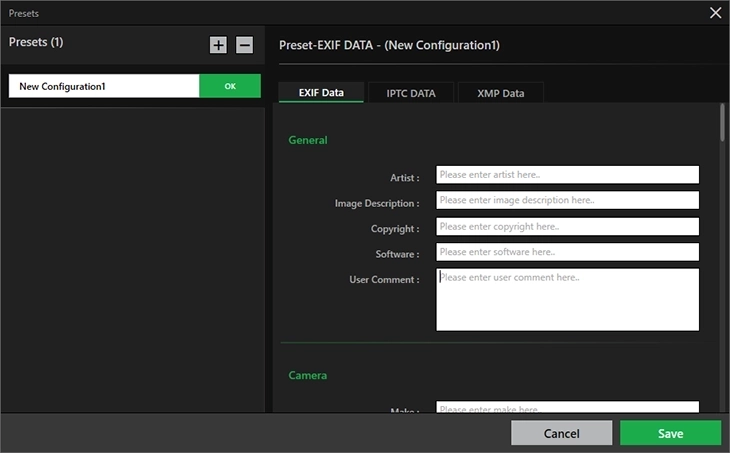
Save - Save current field values as a template.
Apply Preset - Apply a saved preset to selected photos.
Output Settings
The Output Settings section helps you decide where you want to save edited photos and how to handle filenames after metadata editing.
It is divided into two main areas:
- Output Folder Path
- Output File Name
Output Folder Path
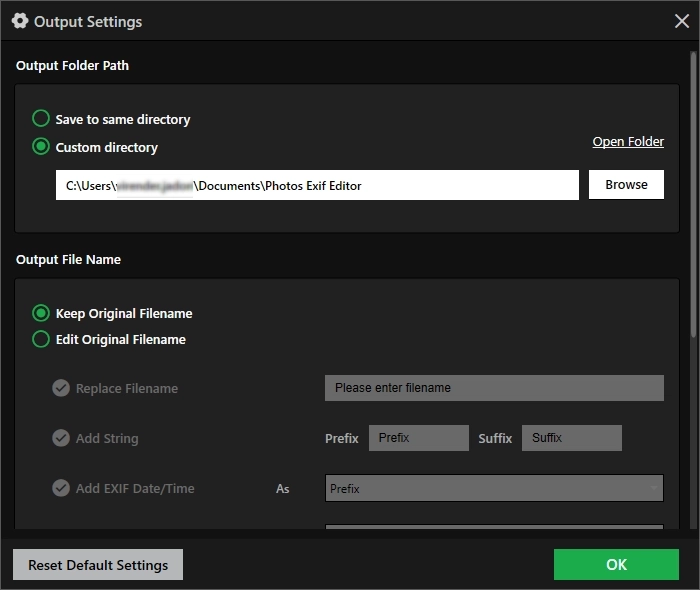
This option lets you choose the destination folder for the edited files.
Save to same directory - Save the edited photos in the same folder where the original files are saved.
If you want to manage fewer folders and are okay overwriting the original file can use this option.
Custom directory - Choose a different folder to save edited files.
If you want original files to be untouched use this option.
Tip:
The Open Folder option helps you to quickly view the selected directory.
Browse helps to select a new folder if needed.
Output File Name Options
This section gives you the control to keep the same filename for edited files or customize them.

Keep Original Filename - No change should be made to the filename, just the metadata will be updated.
Edit Original Filename - Choosing this option let you customize file name and gives you access to extra fields like:
- Replace Filename - Enter a new name for all images.
- Add String - Add a Prefix (before the filename) or Suffix (after the filename).
- Add EXIF Date/ Time - Automatically insert the Date Taken from EXIF metadata as part of the filename.
Reset Default Settings
If you want to revert all Output Settings and use the original default settings, use this button.